St. Louis-Style Frozen Custard: What It Is and How to Make It at Home
October 11, 2026 - Frozen Custard
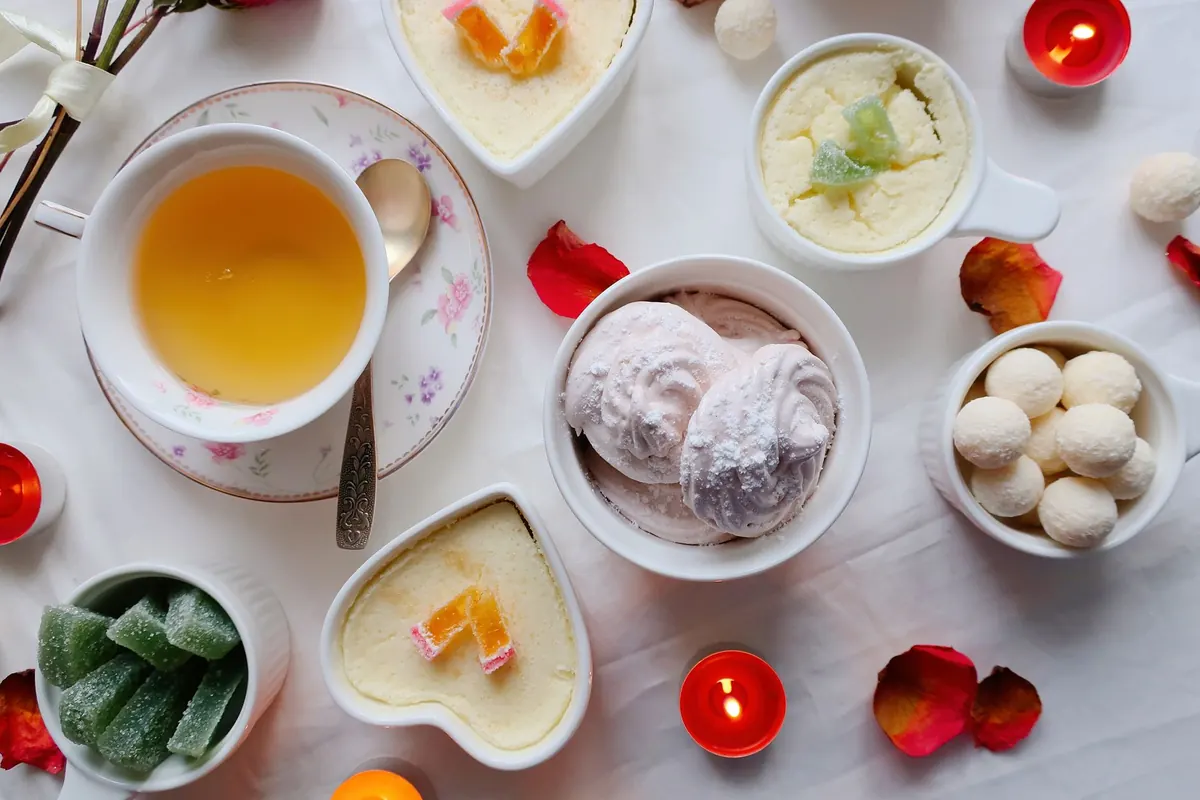
Cracked custard is almost never a flavor problem. It's a heat problem. The eggs, sugar, and dairy were fine; the custard simply got hot faster than its proteins could handle, or it sat in the oven a few minutes past the point where it was done.
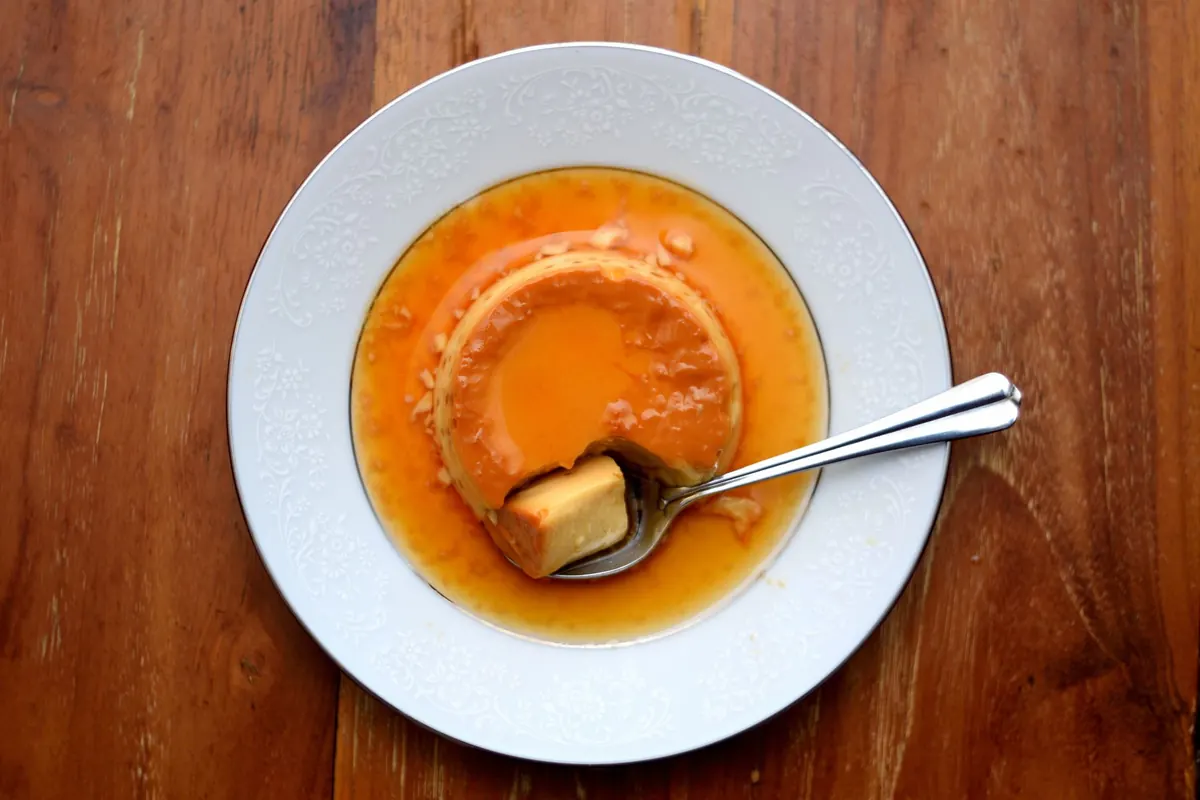
Baked custards — crème brûlée, flan, pot de crème, custard pie, cheesecake — are all the same basic physics. Egg proteins uncoil and link into a delicate gel that traps water. Push that gel too far and the links tighten, squeezing moisture out through the surface. The custard puffs, the top splits, and you find a thin puddle of whey in the cracks. Three variables decide whether that happens: the water bath, the oven temperature, and the temperature at which you pull the custard out. Get those right and cracks become rare instead of routine.
Two things happen when a custard overcooks. First, the proteins contract hard enough to force water out of the structure — the technical name is syneresis, but you'll recognize it as that beading liquid in the cracks and around the edges. Second, the custard rises in the oven as trapped air and steam expand, then falls as it cools, leaving a torn, uneven surface.
Direct, dry oven heat makes both worse. The outside of the custard sets long before the center does, so the edges overcoagulate while the middle is still liquid. A water bath and a moderate oven slow that gradient down until the whole custard sets within a narrow range of temperatures — which is exactly what you want.
A water bath (bain-marie) never lets the custard get hotter than the water around it, and water tops out at 212°F (100°C) at sea level. That ceiling is the whole point: it makes it nearly impossible to blast the custard past its setting point, no matter how long it stays in the oven.
For shallow dishes, a folded kitchen towel under them keeps them from sliding. For very delicate surfaces, tent foil loosely over the pan for the first half of baking; the steam trapped underneath keeps the top moist and less prone to skinning and tearing.
No roasting pan that fits? Set the custards in a smaller pan on the middle rack with a separate pan of water on the rack below. It isn't as effective as a true bath, but it softens the heat considerably.
Most custards want 300°F to 325°F (150°C to 160°C). At 350°F (175°C) you can still get a decent result with a water bath, but the margin between set and overbaked shrinks. For large, deep custards — cheesecake, a big flan in a tube pan — drop to 300°F and be patient.
Two adjustments matter more than people expect. If your oven runs hot, everything below is guesswork; a cheap oven thermometer on the middle rack pays for itself. And if you bake on convection, reduce the set temperature by about 25°F, because moving air transfers heat faster than a still oven.
Bake in the center of the oven, away from the top element. Resist opening the door to check before two-thirds of the estimated time has passed.
A knife inserted into the center should come out wet but not liquid, and the custard should wobble as one piece when you nudge the pan — like set gelatin, not a wave. Better still, use an instant-read thermometer in the middle of the custard, not the water bath:
Pull at the low end of those ranges. Carryover cooking continues in a hot water bath and a warm kitchen, so a custard pulled at 170°F may finish at 178°F ten minutes later. That gap is often the difference between silky and rubbery.
Times vary with oven, dish material, and starting temperature of the ingredients, so treat any number as a cue to start checking rather than a finish line. As a rough guide: small 4-ounce ramekins, 30–40 minutes; 6-ounce ramekins, 40–50 minutes; a shallow pie, 35–45 minutes; a deep flan or soufflé dish, 60–75 minutes; a cheesecake, 60–90 minutes.
Shallow custards set faster than deep ones, dark metal pans faster than ceramic, and room-temperature dairy faster than cold. Check early the first time you make a recipe and note the actual time your oven delivered. That note is worth more than any chart.
The fastest way to internalize all of this is repetition with notes. Pick one custard — a basic crème brûlée or a simple custard pie — and bake it three times in the same dish at the same oven setting, changing only the pull temperature: 165°F, then 170°F, then 175°F. Taste each one cold. The difference between the first and third will teach you more about carryover cooking than any explanation can, and you'll know exactly where your oven and your palate want to land. After that, the water bath, the 325°F setting, and the thermometer become habit rather than a checklist.
Photo: Asya Vlasova / Pexels
St. Louis-style frozen custard is denser, richer and silkier than ice cream. Here is what defines it and how to make...
Learn the two cues that tell you a baked custard is done: the jiggle test at the center and an internal temperature...
Copyright © 2026 Custard Desk. All Right Reserved.