St. Louis-Style Frozen Custard: What It Is and How to Make It at Home
October 11, 2026 - Frozen Custard
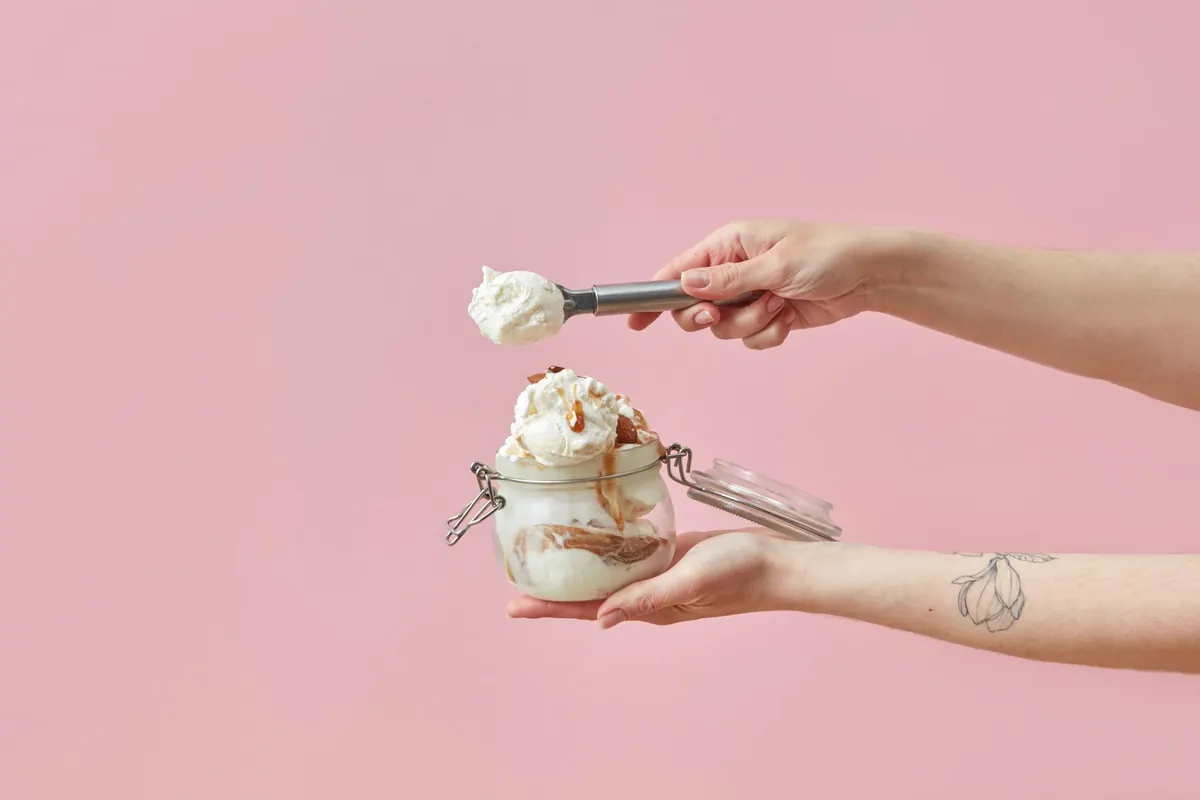
Frozen custard has a reputation for being a machine's job. Walk into any stand that serves it and you'll see a stainless steel barrel doing the work, with a server pulling thick ribbons straight into a cone. But the machine isn't doing anything magical. It's agitating a cold, rich, cooked base while it freezes so that ice crystals stay tiny. You can do the same thing at home with a whisk, a shallow pan, and a little patience.
The result won't be identical to a commercial custard, and that's fine. It will be dense, smooth, and rich enough that a small scoop is plenty.
Egg yolks are the whole point. They bring fat, protein, and lecithin, an emulsifier that keeps water and fat from separating as the base freezes. That's why frozen custard tastes creamier than ice cream of the same butterfat level: the yolk solids interfere with ice crystal growth, so the frozen texture stays smoother and softer.
In the United States, a mix sold as frozen custard generally has to contain at least 10 percent milkfat and 1.4 percent egg yolk solids. That's a useful target at home. Roughly four to six yolks per quart of dairy gets you there, along with a cream-to-milk ratio that keeps the fat up.
The trade-off is that a custard base is heavy, so it freezes slowly and firms up hard if you don't manage it. Your job during freezing is to keep breaking up crystals before they grow large enough to feel on your tongue.
Two things matter here. First, a cold base freezes faster and forms smaller crystals, so don't rush this step. Second, don't cut the sugar drastically. Sugar lowers the freezing point and keeps the finished custard scoopable; if you want it less sweet, replace a couple of tablespoons with corn syrup or a tablespoon of vodka or bourbon rather than removing sugar outright.
Pour the cold base into your shallow pan, cover it with plastic pressed onto the surface, and freeze for 45 minutes.
From there, take the pan out every 30 minutes for the next three to four hours. Each time, scrape the frozen edges into the center, break up the slab with your spatula, and whisk hard for 30 to 60 seconds until the mixture looks like a thick, smooth slush. Spread it level again and put it back. A fork works in a pinch; a hand mixer makes it faster.
Each round accomplishes two things: it shatters ice crystals before they harden into grit, and it whips in a small amount of air, which is what makes the final texture feel light rather than solid. After three hours it should look like soft-serve.
Once the custard is too firm to whisk, cut it into chunks and pulse it four to eight times in a food processor. It will turn glossy and smooth in seconds. Stop there — over-processing melts it and you'll be back where you started.
For a lighter, more scoopable result, fold in half a cup of softly whipped cream at this stage, then scrape everything into a lidded container and freeze one to two hours to firm up.
Vanilla is the benchmark, but the base takes well to additions:
Grainy or icy. Almost always a warm base, a deep container, or missed stirrings. Start colder, go shallower, and set a timer.
Rock hard after a day in the freezer. Usually too little sugar or fat, or the custard sat uncovered and picked up frost. Press plastic wrap directly onto the surface and keep the container airtight.
Scrambled base. Heat was too high or the yolks went in too fast. Strain it and carry on; the texture will be slightly less silky but still good.
Let the container sit on the counter for five to ten minutes before scooping, and warm the scoop in hot water between passes. Cold bowls help it hold its shape at the table.
Stored airtight with plastic pressed to the surface, this keeps for about a week, though the texture is at its best in the first three days. It will slowly firm as it ages, so plan to finish it rather than save it.
One note on eggs: the base is cooked to 170–175°F, which sets the yolks. If you or someone you're serving has a health condition that makes eggs a concern, use a thermometer and confirm with a doctor before serving.
Make the base on a Sunday evening, stir it while you're doing something else in the kitchen, and you'll have real frozen custard by dessert. The machine was never the secret — the custard was.
Photo: DS stories / Pexels
St. Louis-style frozen custard is denser, richer and silkier than ice cream. Here is what defines it and how to make...
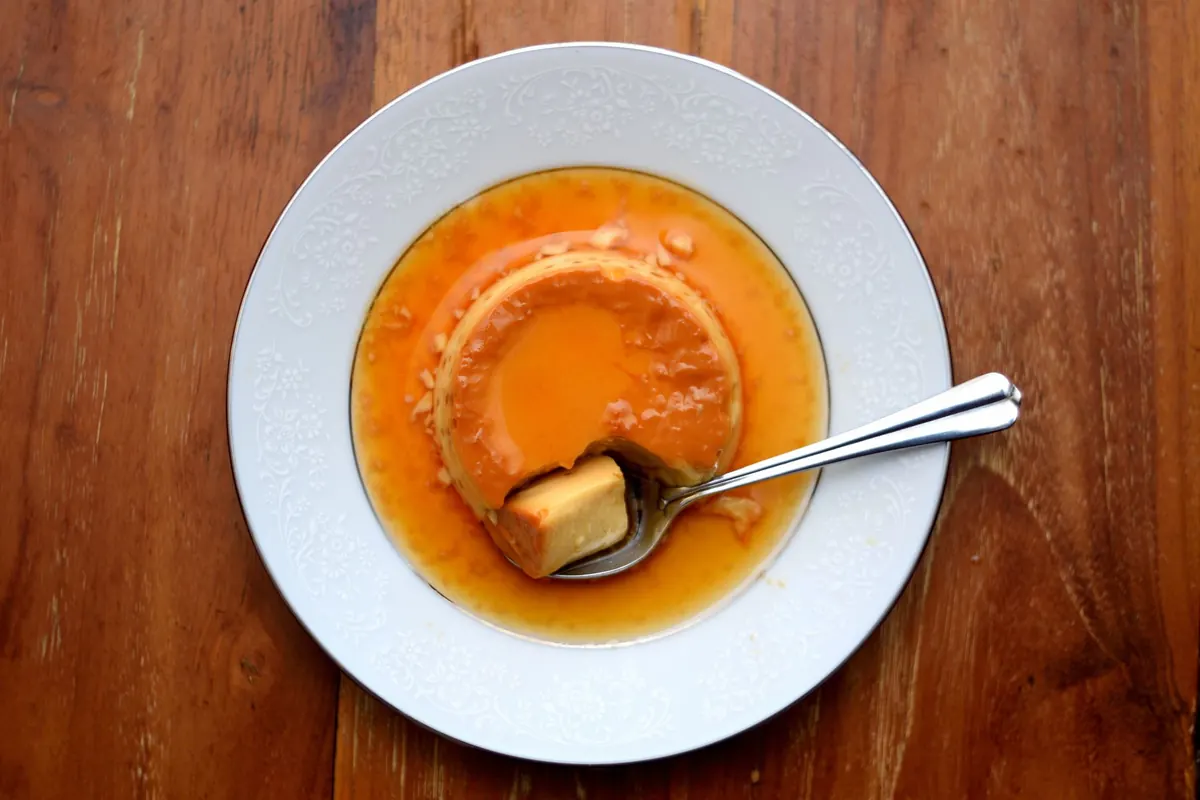
Learn the two cues that tell you a baked custard is done: the jiggle test at the center and an internal temperature...
Copyright © 2026 Custard Desk. All Right Reserved.